Mermaid Nails
Nail Art
Nails
NAIL ART | Raw, Gradient, Metallic Mermaid Scales
Sunday, September 11, 2016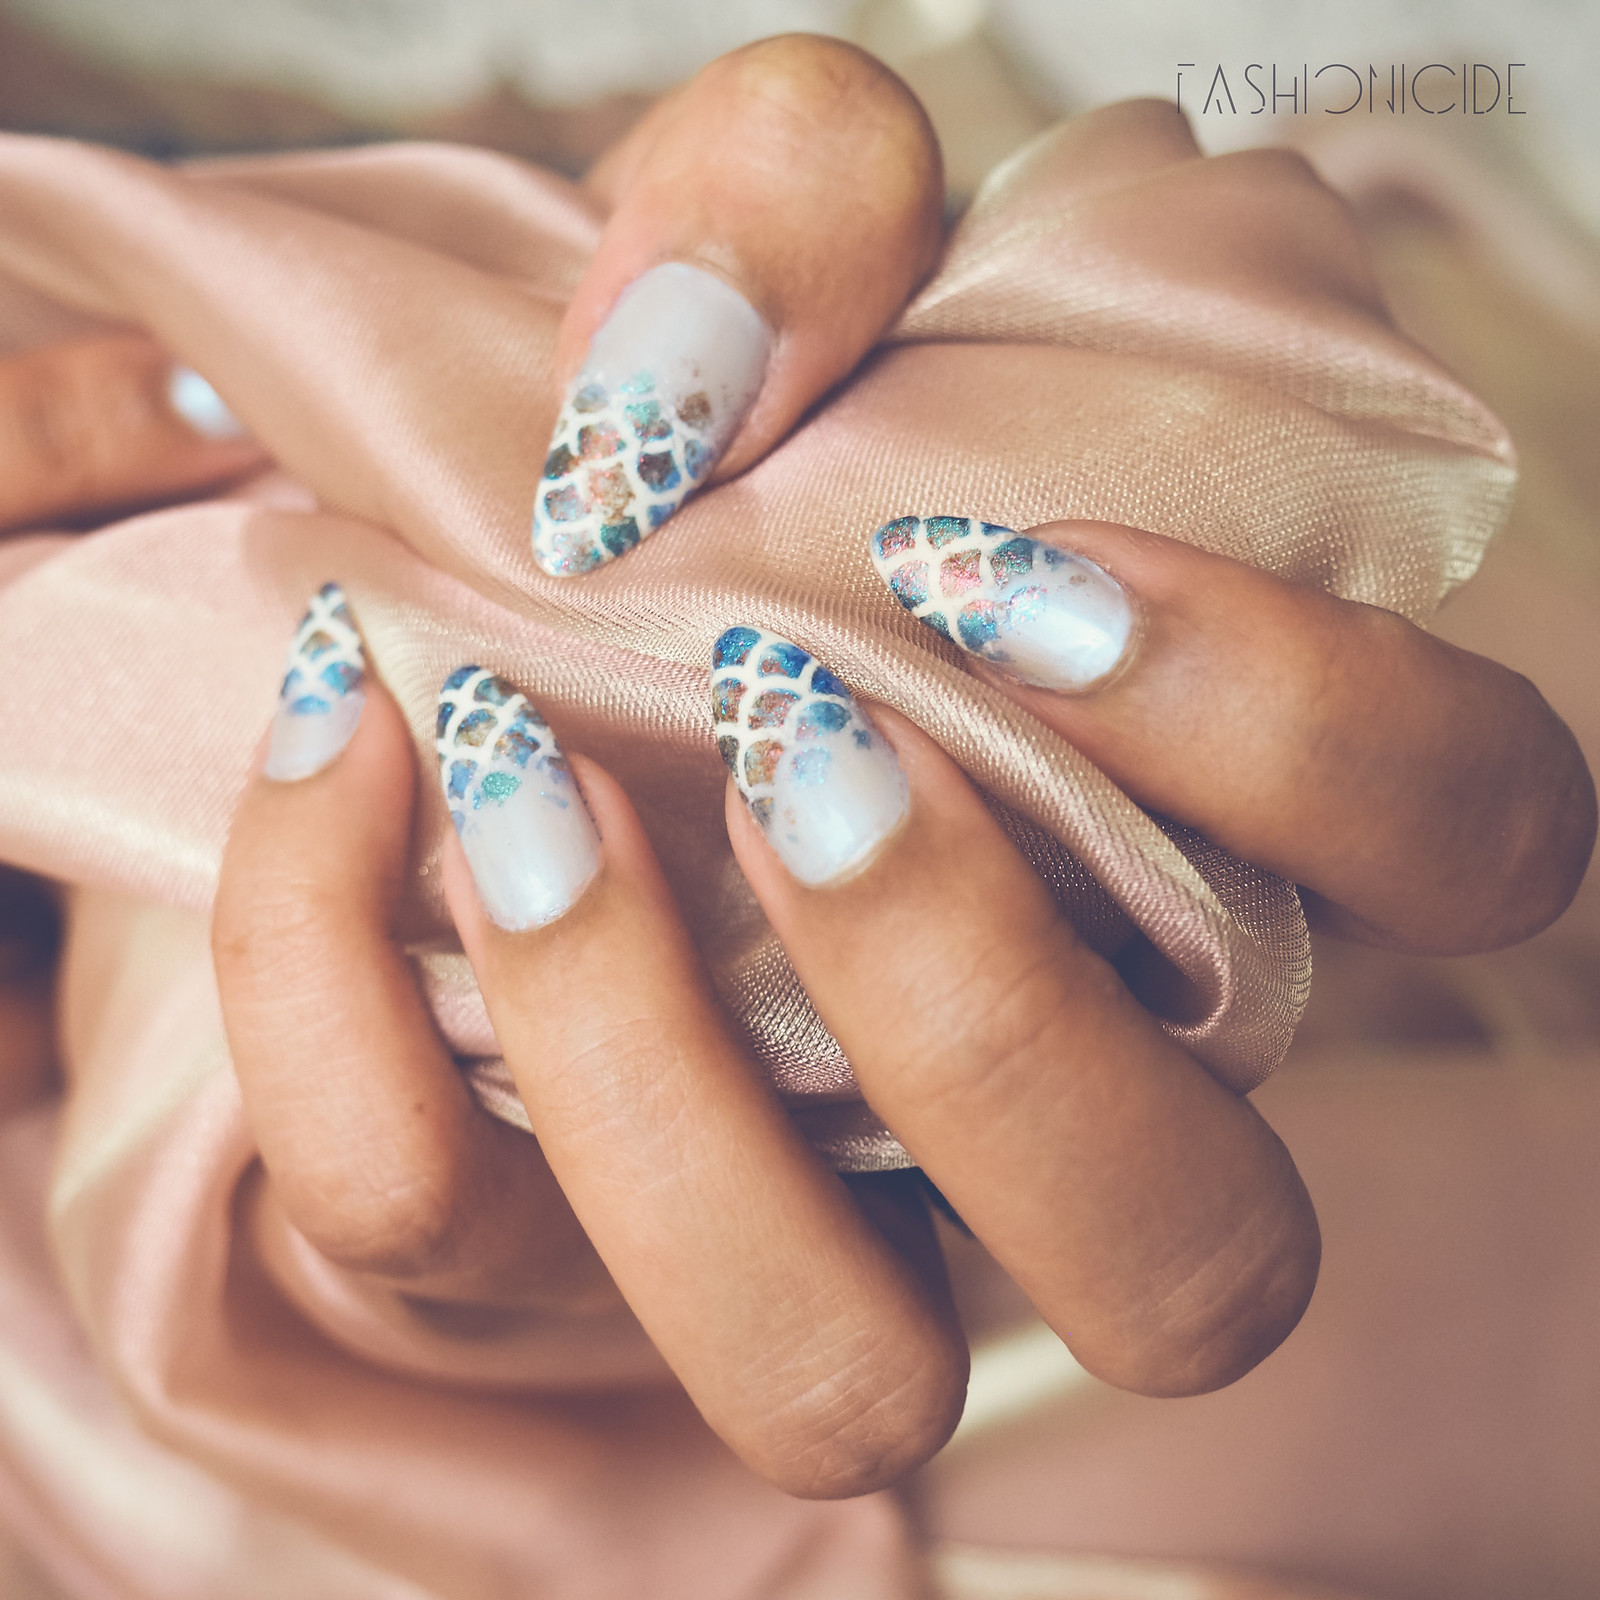
The Internet is full to the brim of Mermaid-esque nail art designs. What I find so amazing about this, is not just my love for all things mermaid, but more the fact there are so, so many different takes on 'Mermaid' nails. One in particular that has caught my eye, is the fish scales look, that gives the appearance they've been printed on to the nail. There are even a few different methods of capturing this look: free hand, using a stamp kit or going with sticker templates.
I decided to go with the latter.
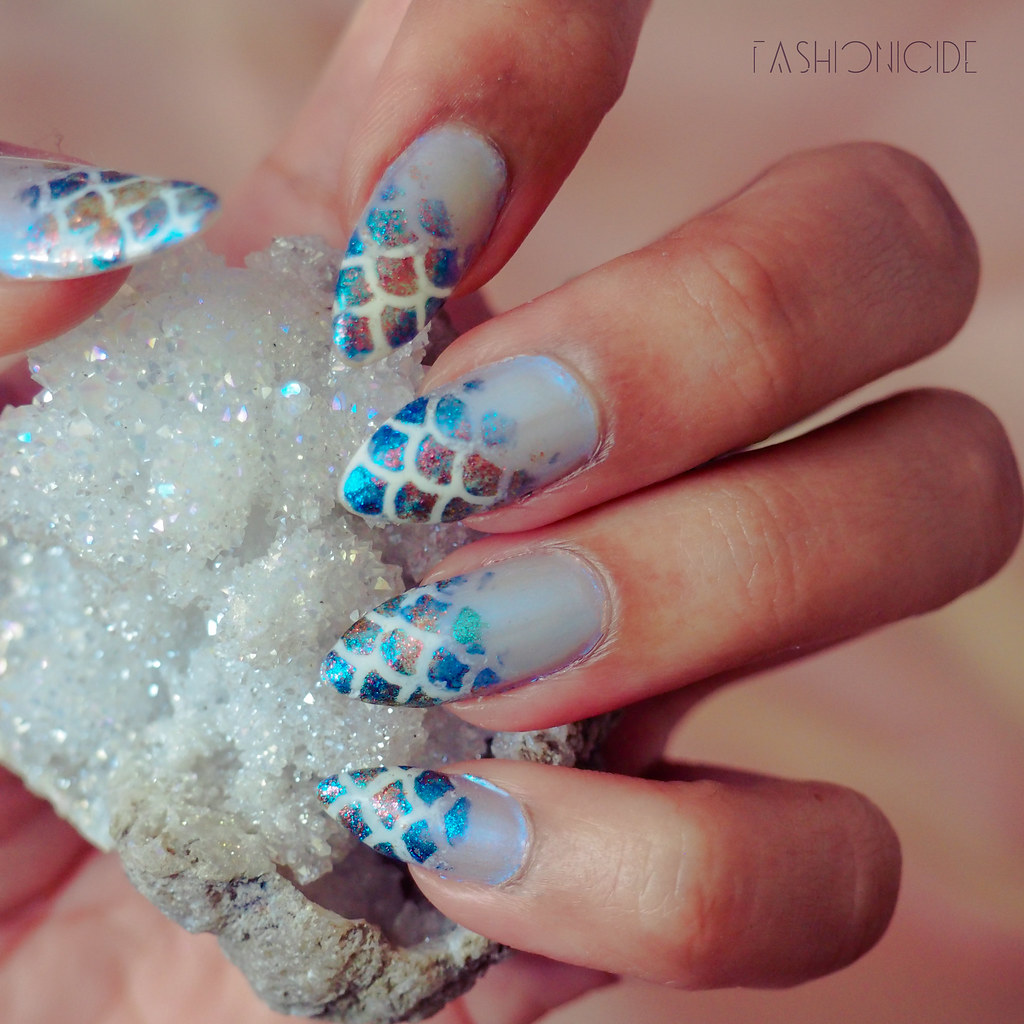
Instead of going full steam ahead and covering the entire nail in scales, I thought I'd try something a little different, so I went half way down the nail from the tips. But to add an extra little something to the overall look, I created a gradient within the scales so they almost fade into the lower section of the nail. The effect I was going for was something quite ethereal, but also quite raw. I didn't want something that looked perfectly and flawlessly gradiented, I wanted something with a little rough edge to it.
PRODUCTS USED
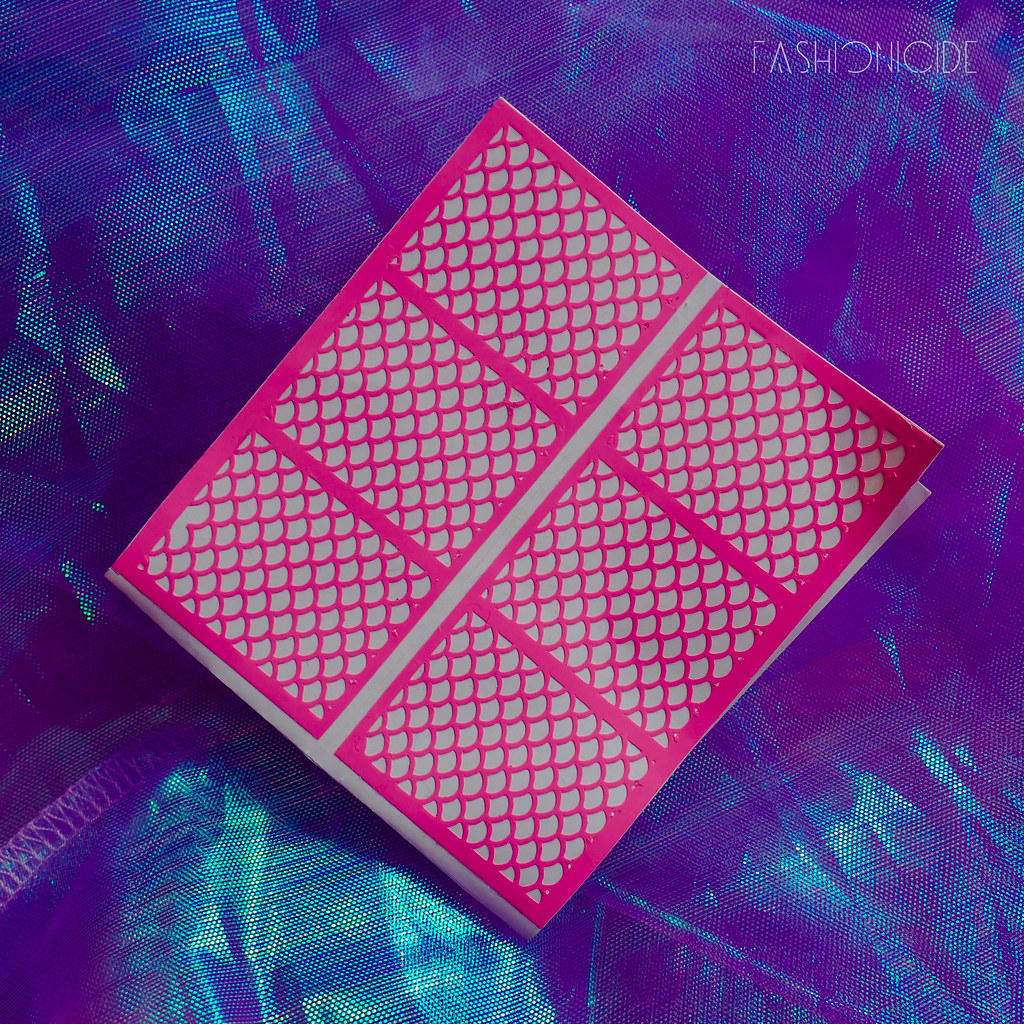
This is the sticker template I used to create the fish scales effect, as you can imagine it's very simple to use. More importantly though, they're ridiculously cheap - I found mine on eBay for just £1. Yep. One. Pound.
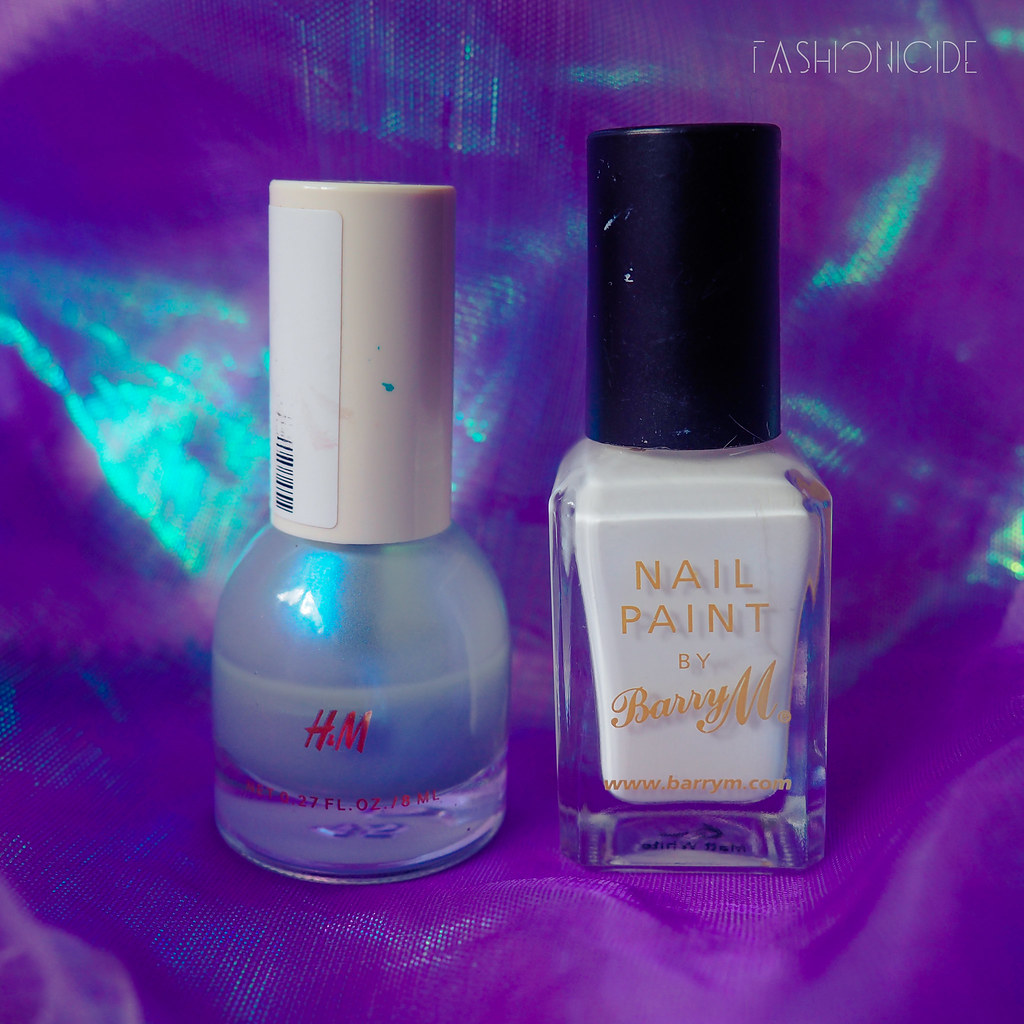
(L - R) H&M Nail Polish - Skyline (LOVE THIS) & Barry M Nail Paint - Matt White
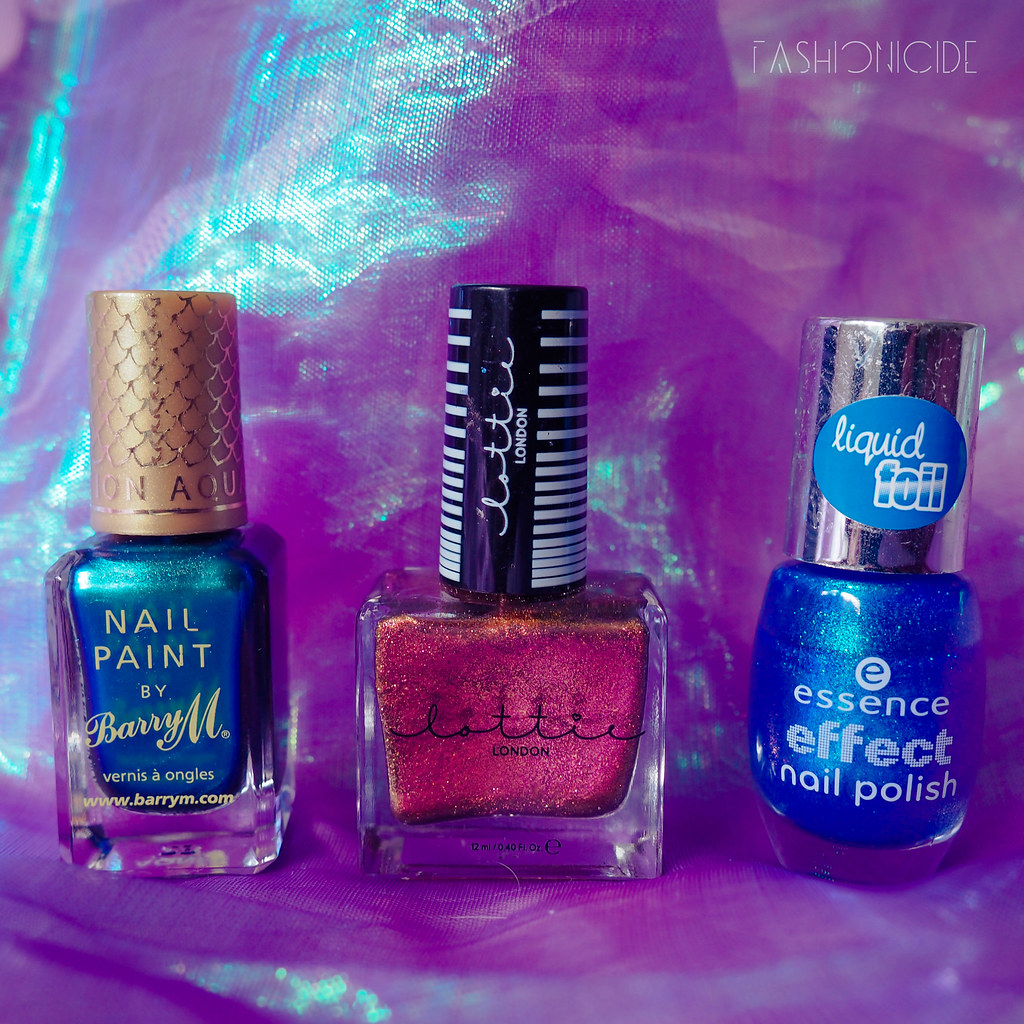
(L - R) Essence Effect Nail Polish Liquid Foil - Lady Mermaid, Barry M Nail Paint Aquarium Collection - Pacific & Lottie London Nail Polish - Just Dance
TECHNIQUE
First, I painted two coats of H&M's Skyline onto my nails. I absolutely love this polish and really enjoy using it, to the point where I'll soon be needing a bit of a re-purchase! The finish is milky smooth, and while it's not quite iridescent, it has a magical sheer blue tint.
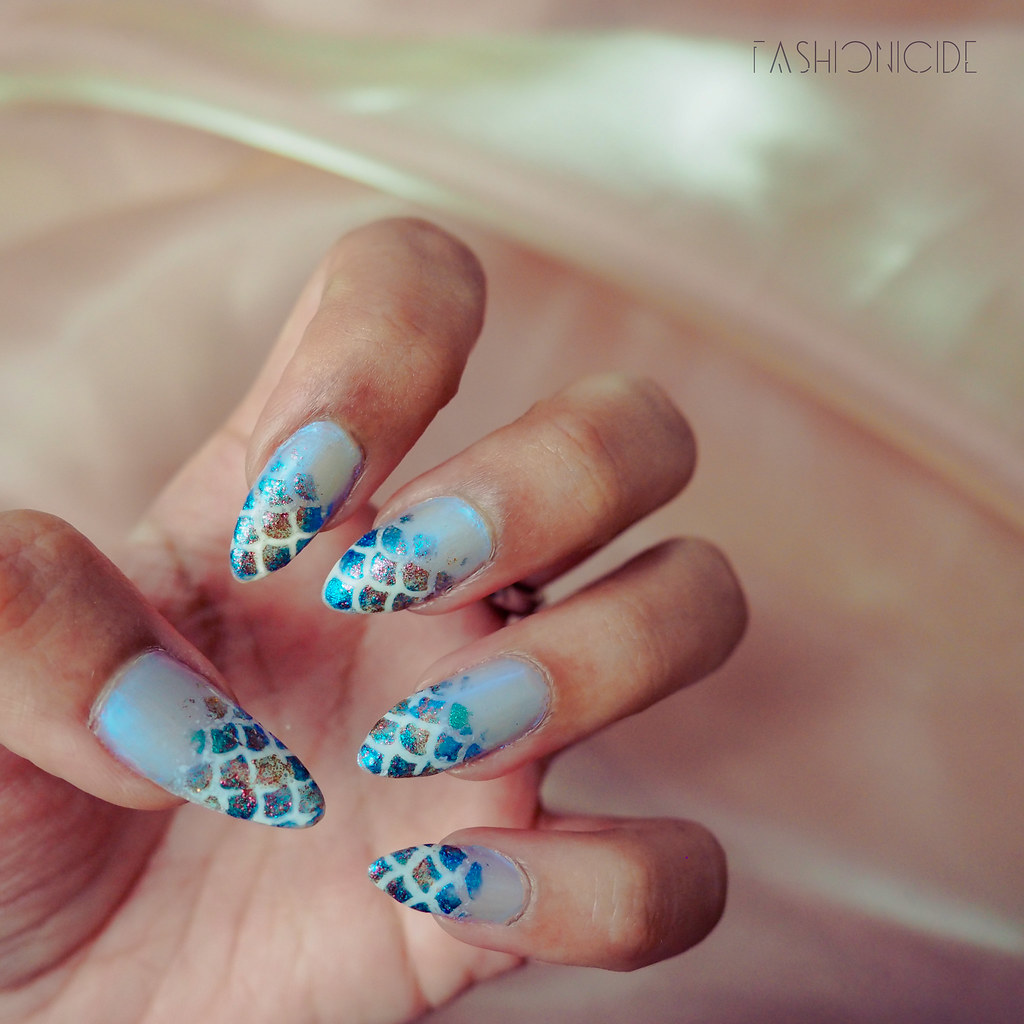
Once the Skyline was touch try, the next step was to take a makeup sponge, dab on some of Barry M's Matt White and sponge it on to the tips. Follow that up with some top coat to seal it all in and leave to dry. Once dried, I grabbed the sticker template, placed it on to the nail and started to sponge on the remaining three polishes. Again, I wasn't going for perfection, so these three polishes were sponged on quite haphazardly, whilst being careful enough to ensure I got that fading effect.
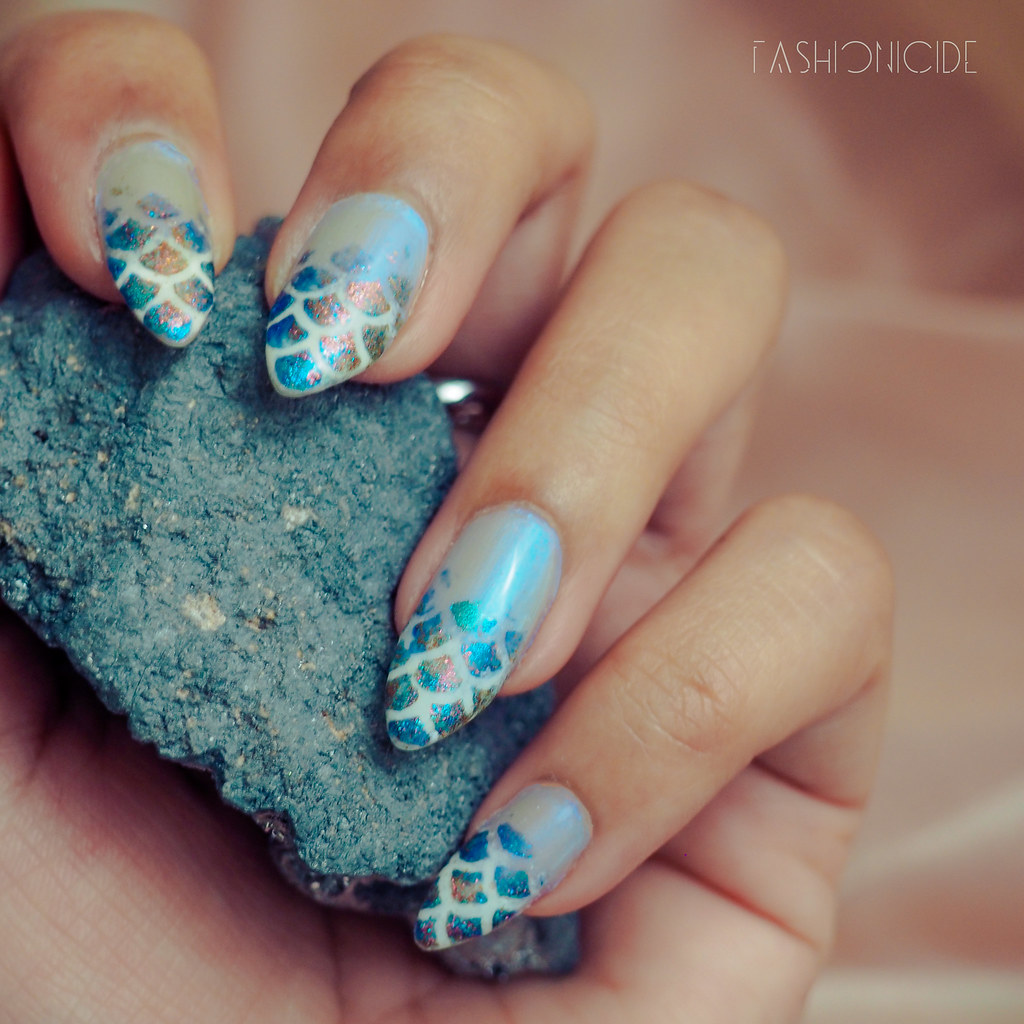
And that's it, folks! All you need to do now is let it all dry off again, seal it in with some more top coat and you're ready to go out and show of your sparkly mermaid talons! The effect is quite different to the nail looks I've seen out there currently, which tend to cover the entire nail and look like utter perfection. As incredible as these look, it's important to put out an alternative, something with a little character.

7 comments
I really like these. They are beautiful. I'm going to order me some of that sticker template and give them a go. 😘
ReplyDeleteYour nails look so cool! :) xx
ReplyDeleteThis is amazing, loving it so!! x
ReplyDeleteLove these! They look so amazing x
ReplyDeletei looooove this!! it's so realistic and mermaidy <3
ReplyDeleteThese are so cute! I love creative nail art like that, especially when it inclued some cool colors like these :) You did a great job! xx
ReplyDeleteBeautyPepTalk
I have just ordered the template 😂
ReplyDelete