Sunday, January 29, 2017
MAKEUP || Slicing that Unicorn Cut Crease with Reverse Eyeliner
Sunday, January 29, 2017Ahoy there! During December and January, I found myself barely wearing eyeshadow, and instead creating looks using different types of gr...
Ahoy there!
During December and January, I found myself barely wearing eyeshadow, and instead creating looks using different types of graphic liner. I think this might have been down to the fact it doesn't take me all that long to draw on the liner, and I don't need to deal with the faff of applying shadows and blending etc, so it developed in to a bit of a habit to just go for the graphic liner.
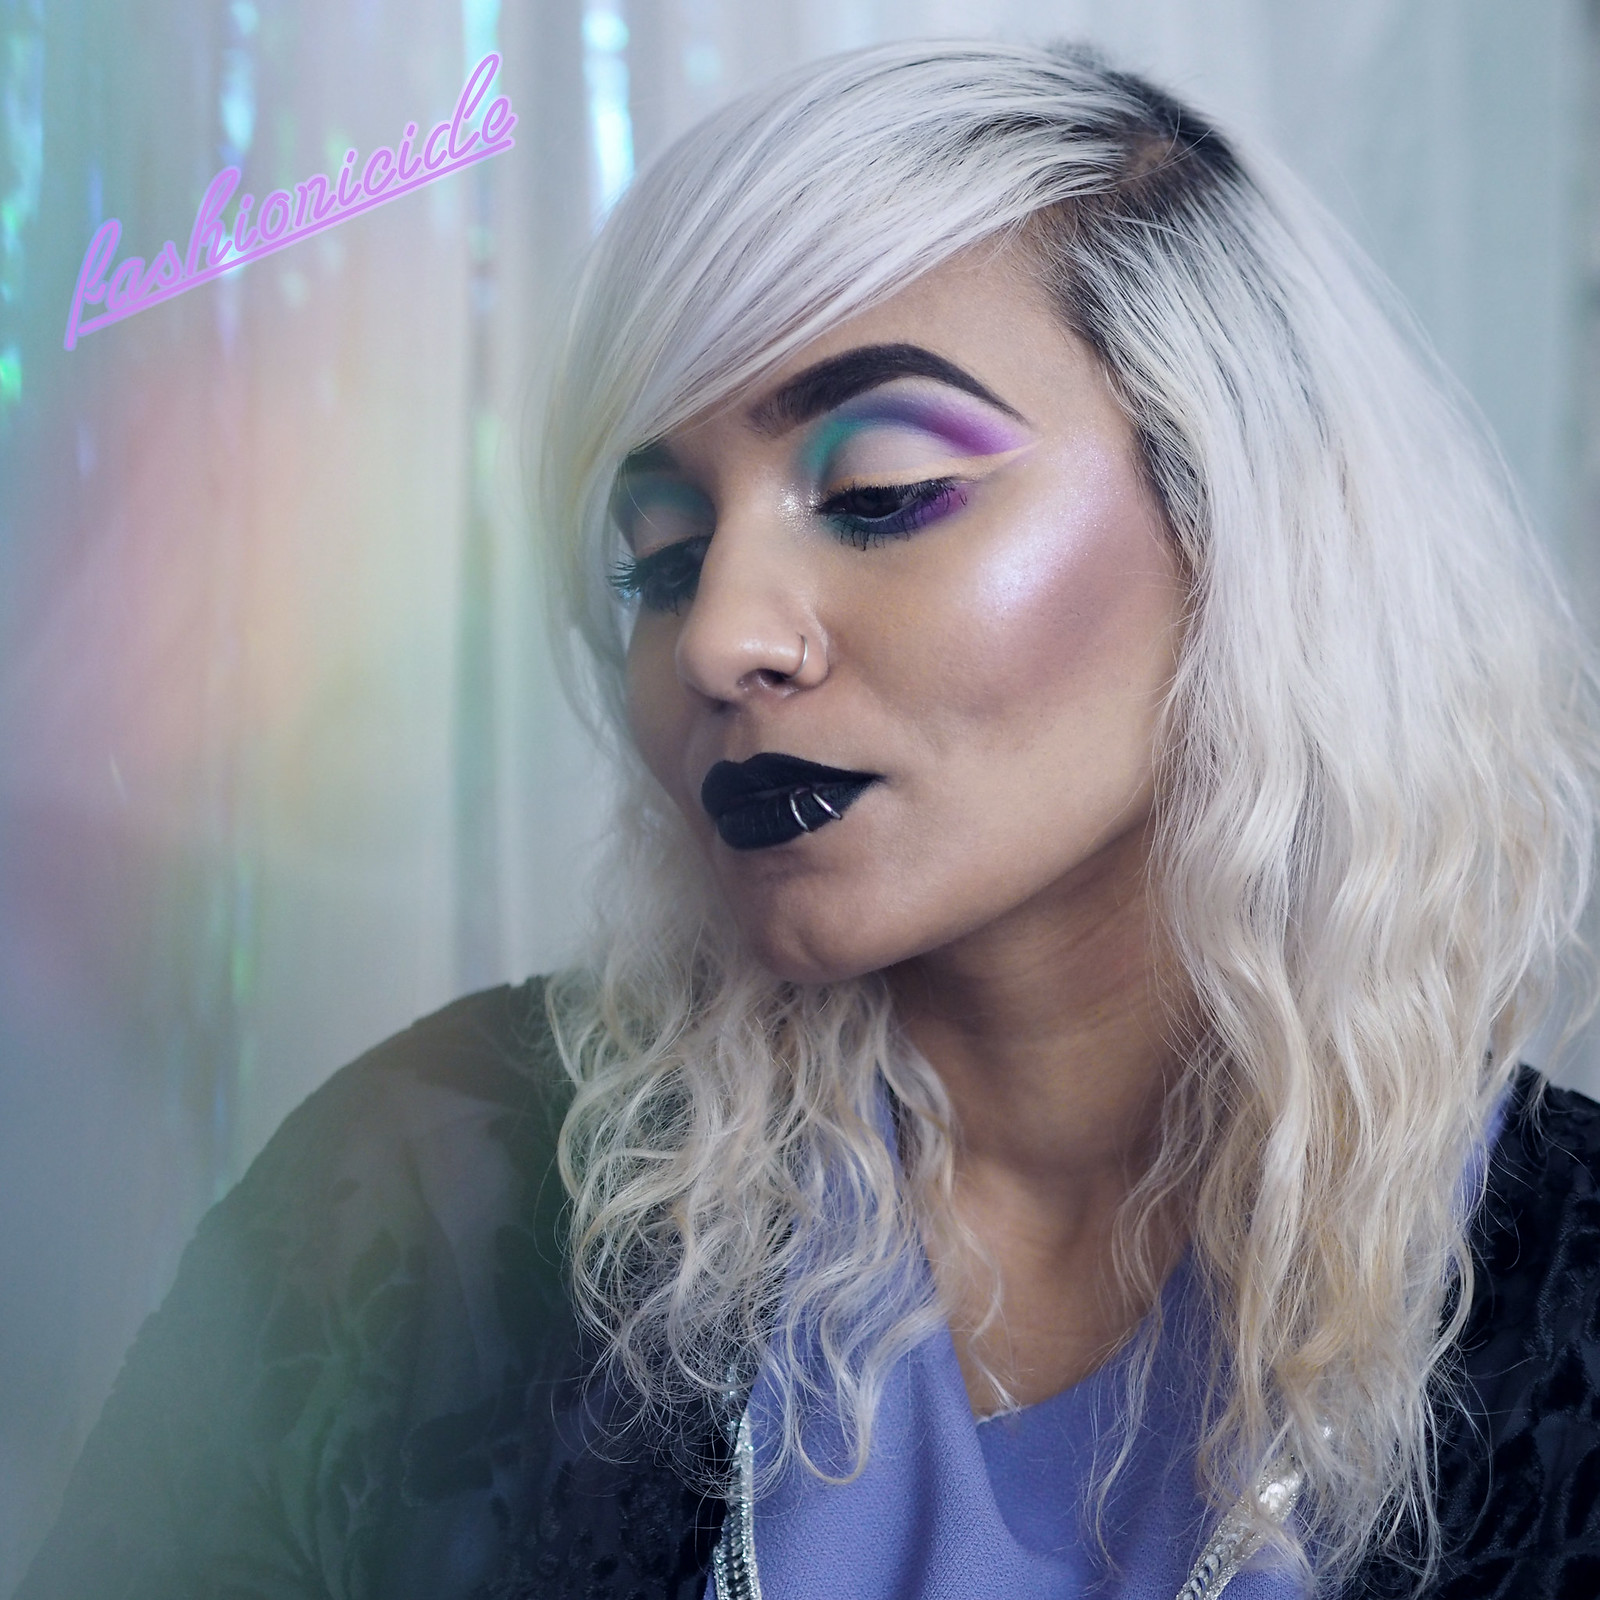
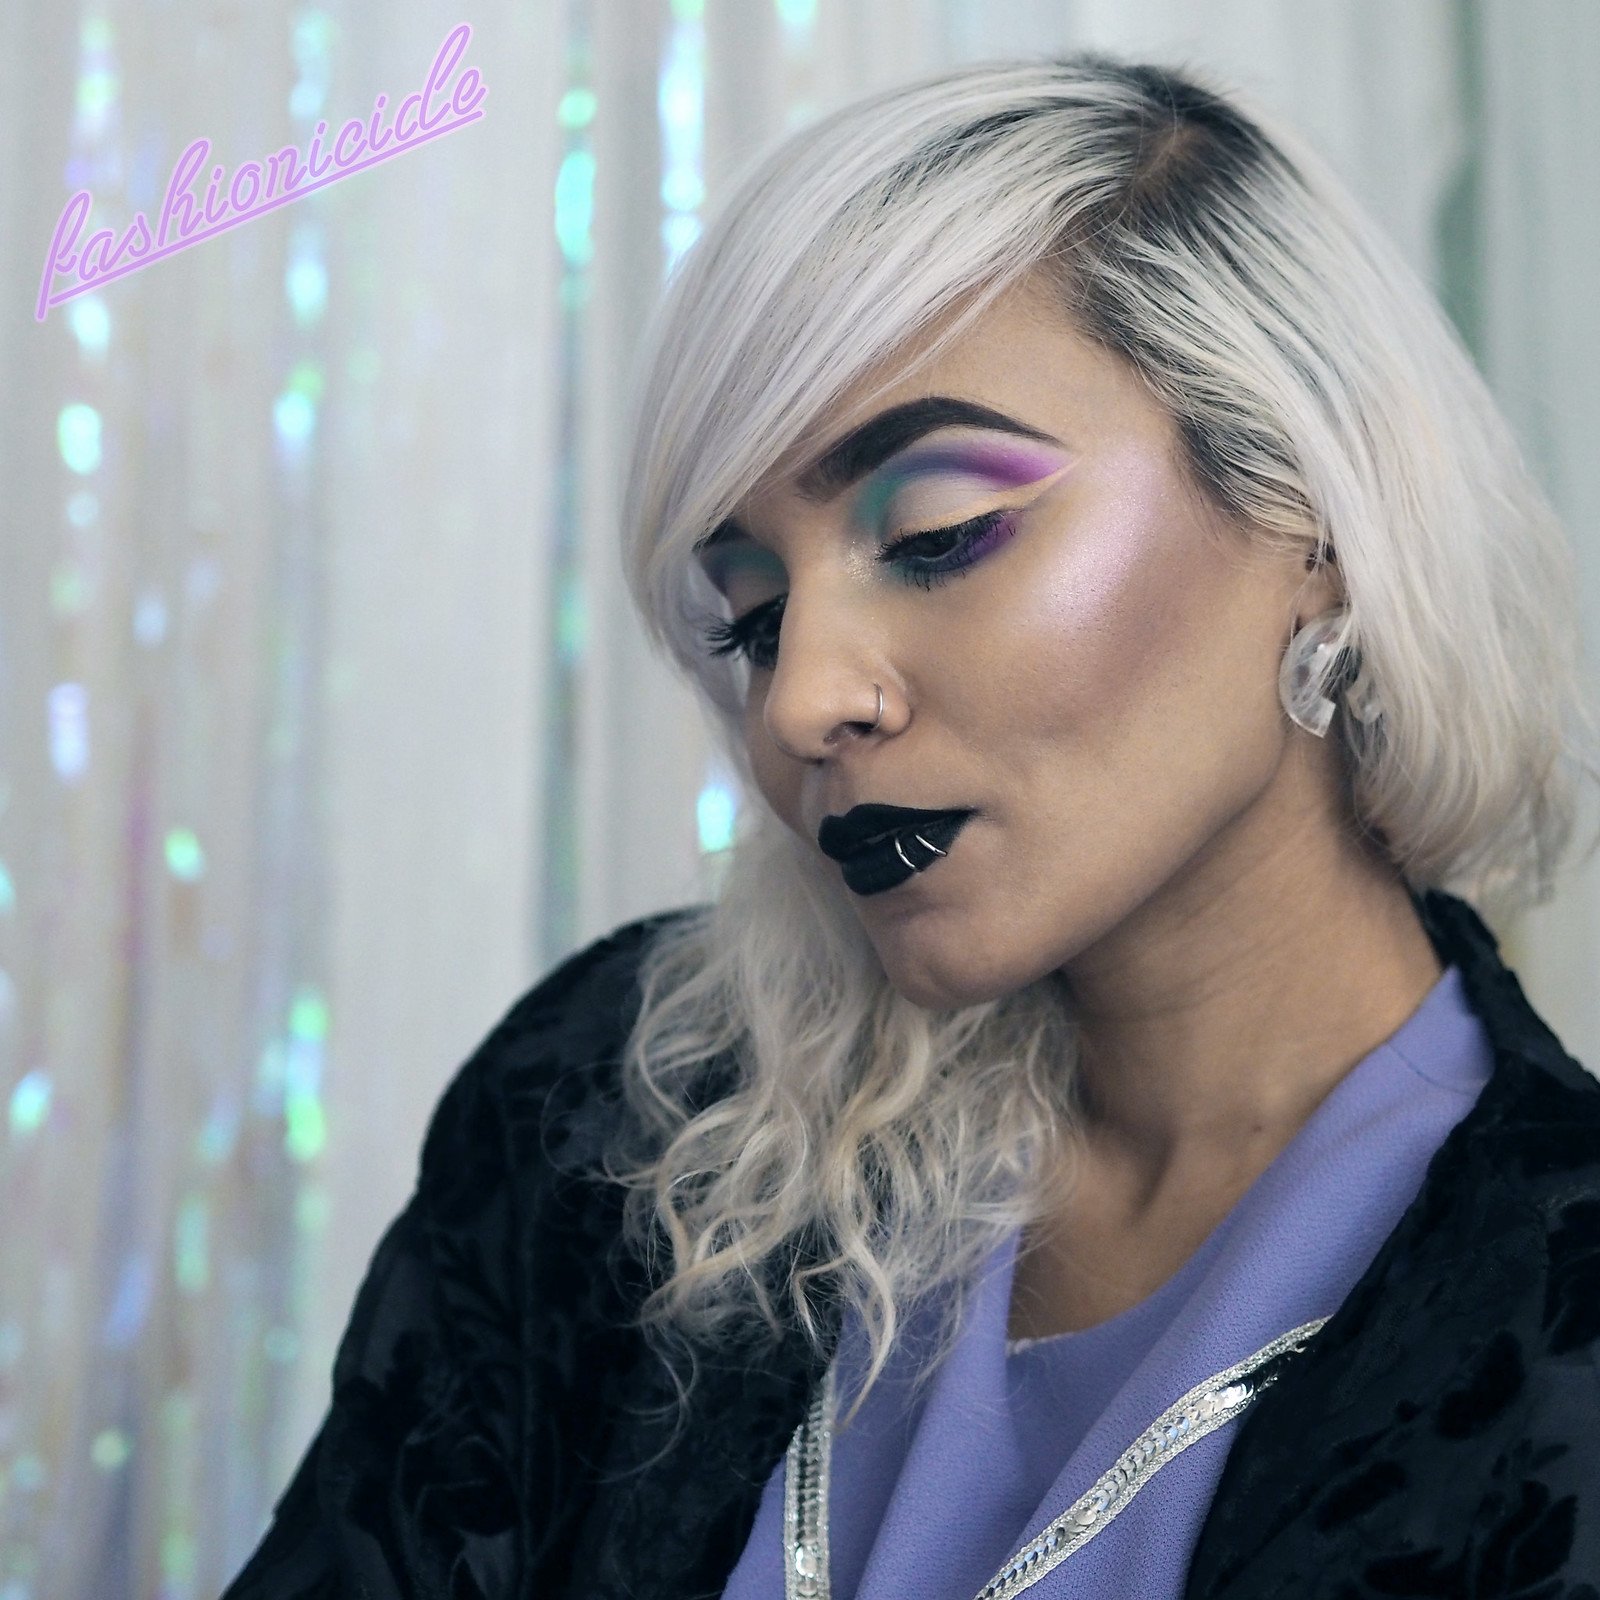
However I've decided I need to smash that habit, break free and give my eyeshadows some much needed loving. I was inspired by Daisy Marquez' video on Reverse Eyeliner, where she created a cut crease using neutral shades and used concealer to do a sort of inside-out liner look. When I saw this, I thought I simply have to try it, but go with something a bit more colourful. Because yeah, I like colour!
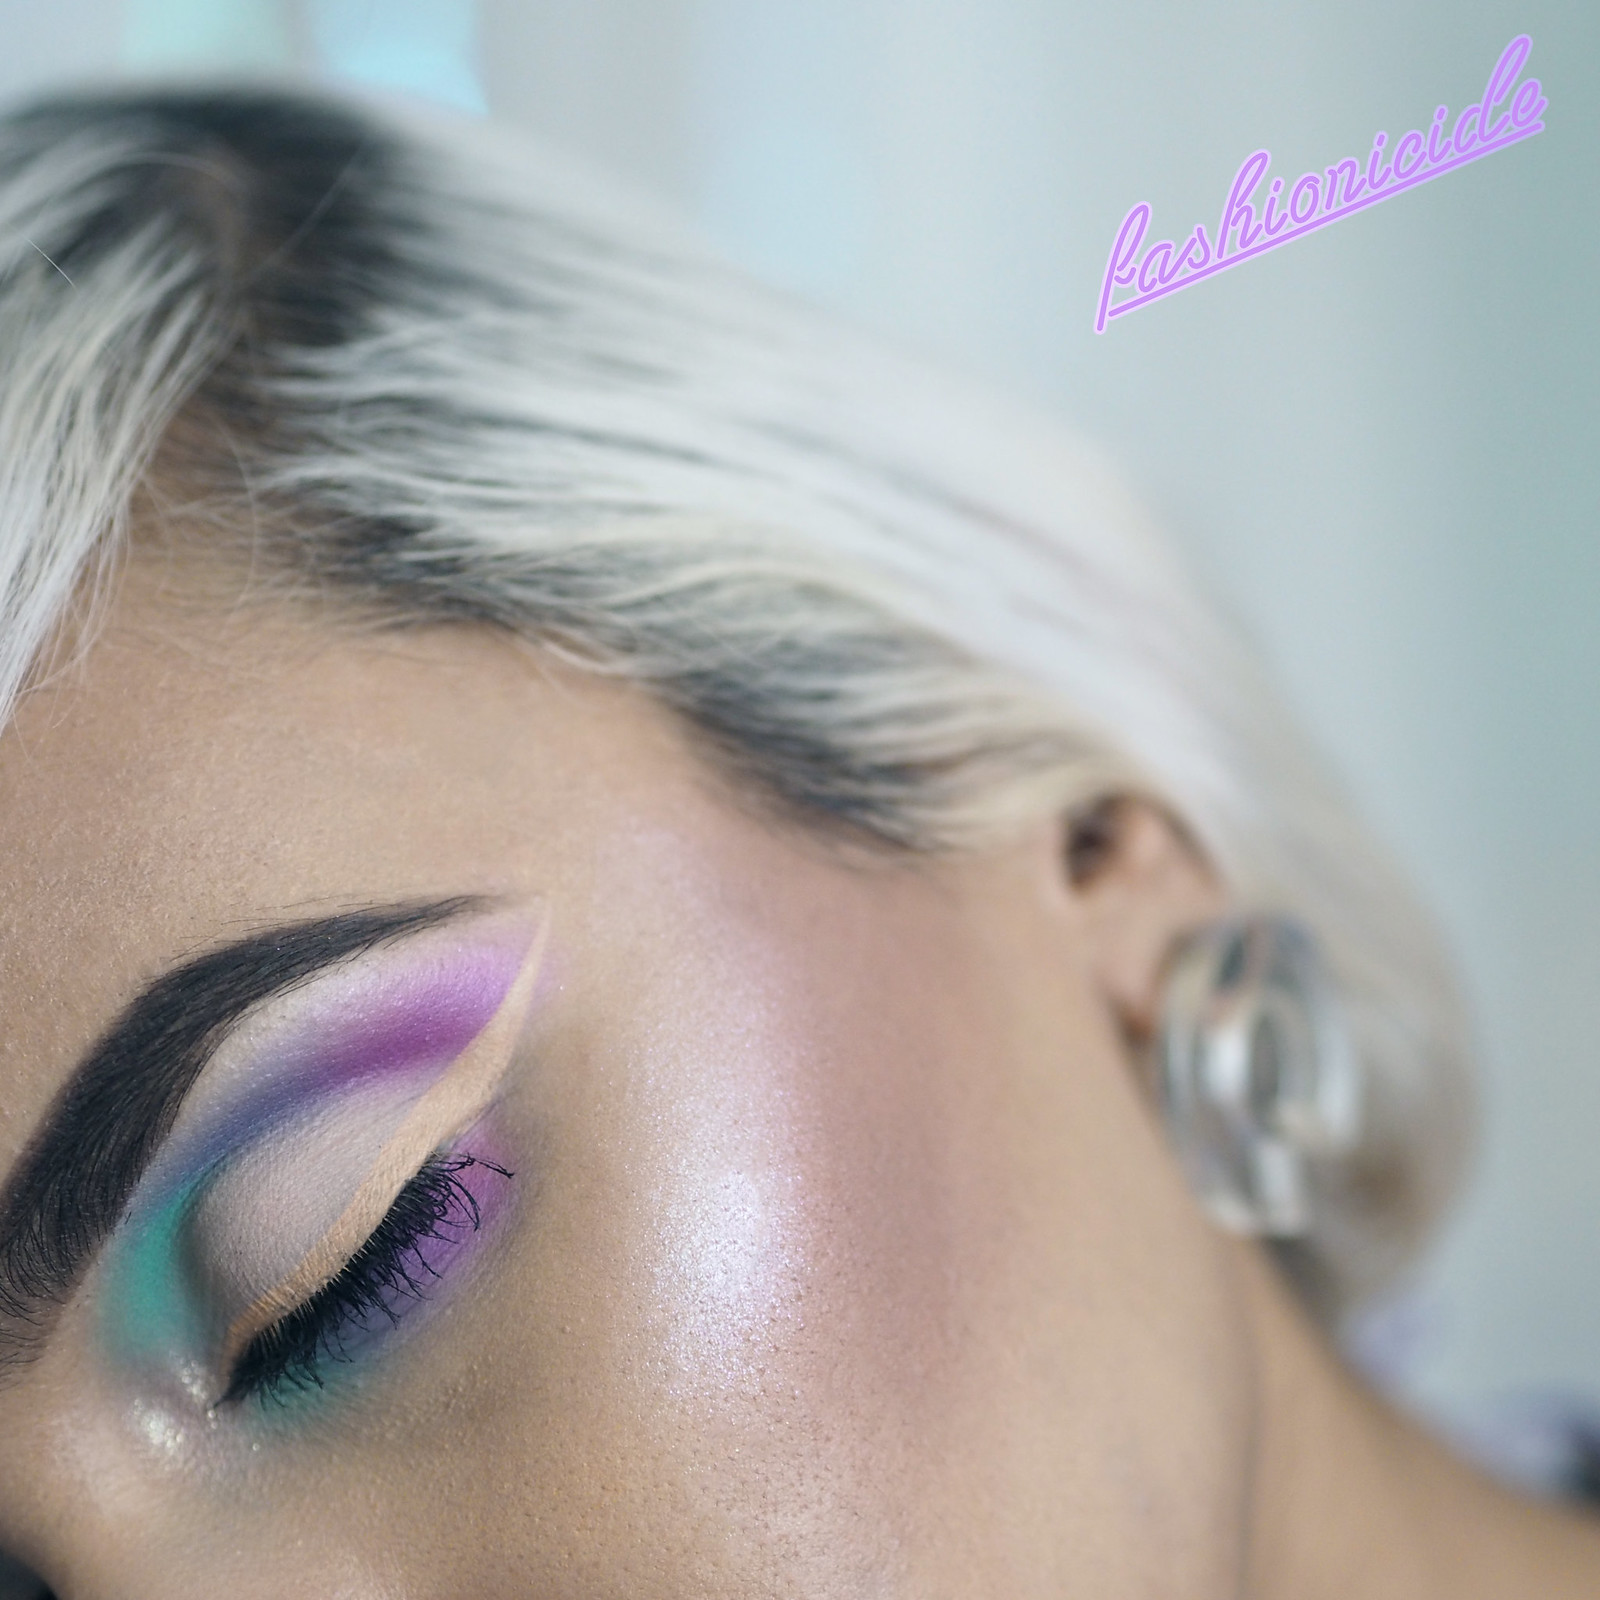
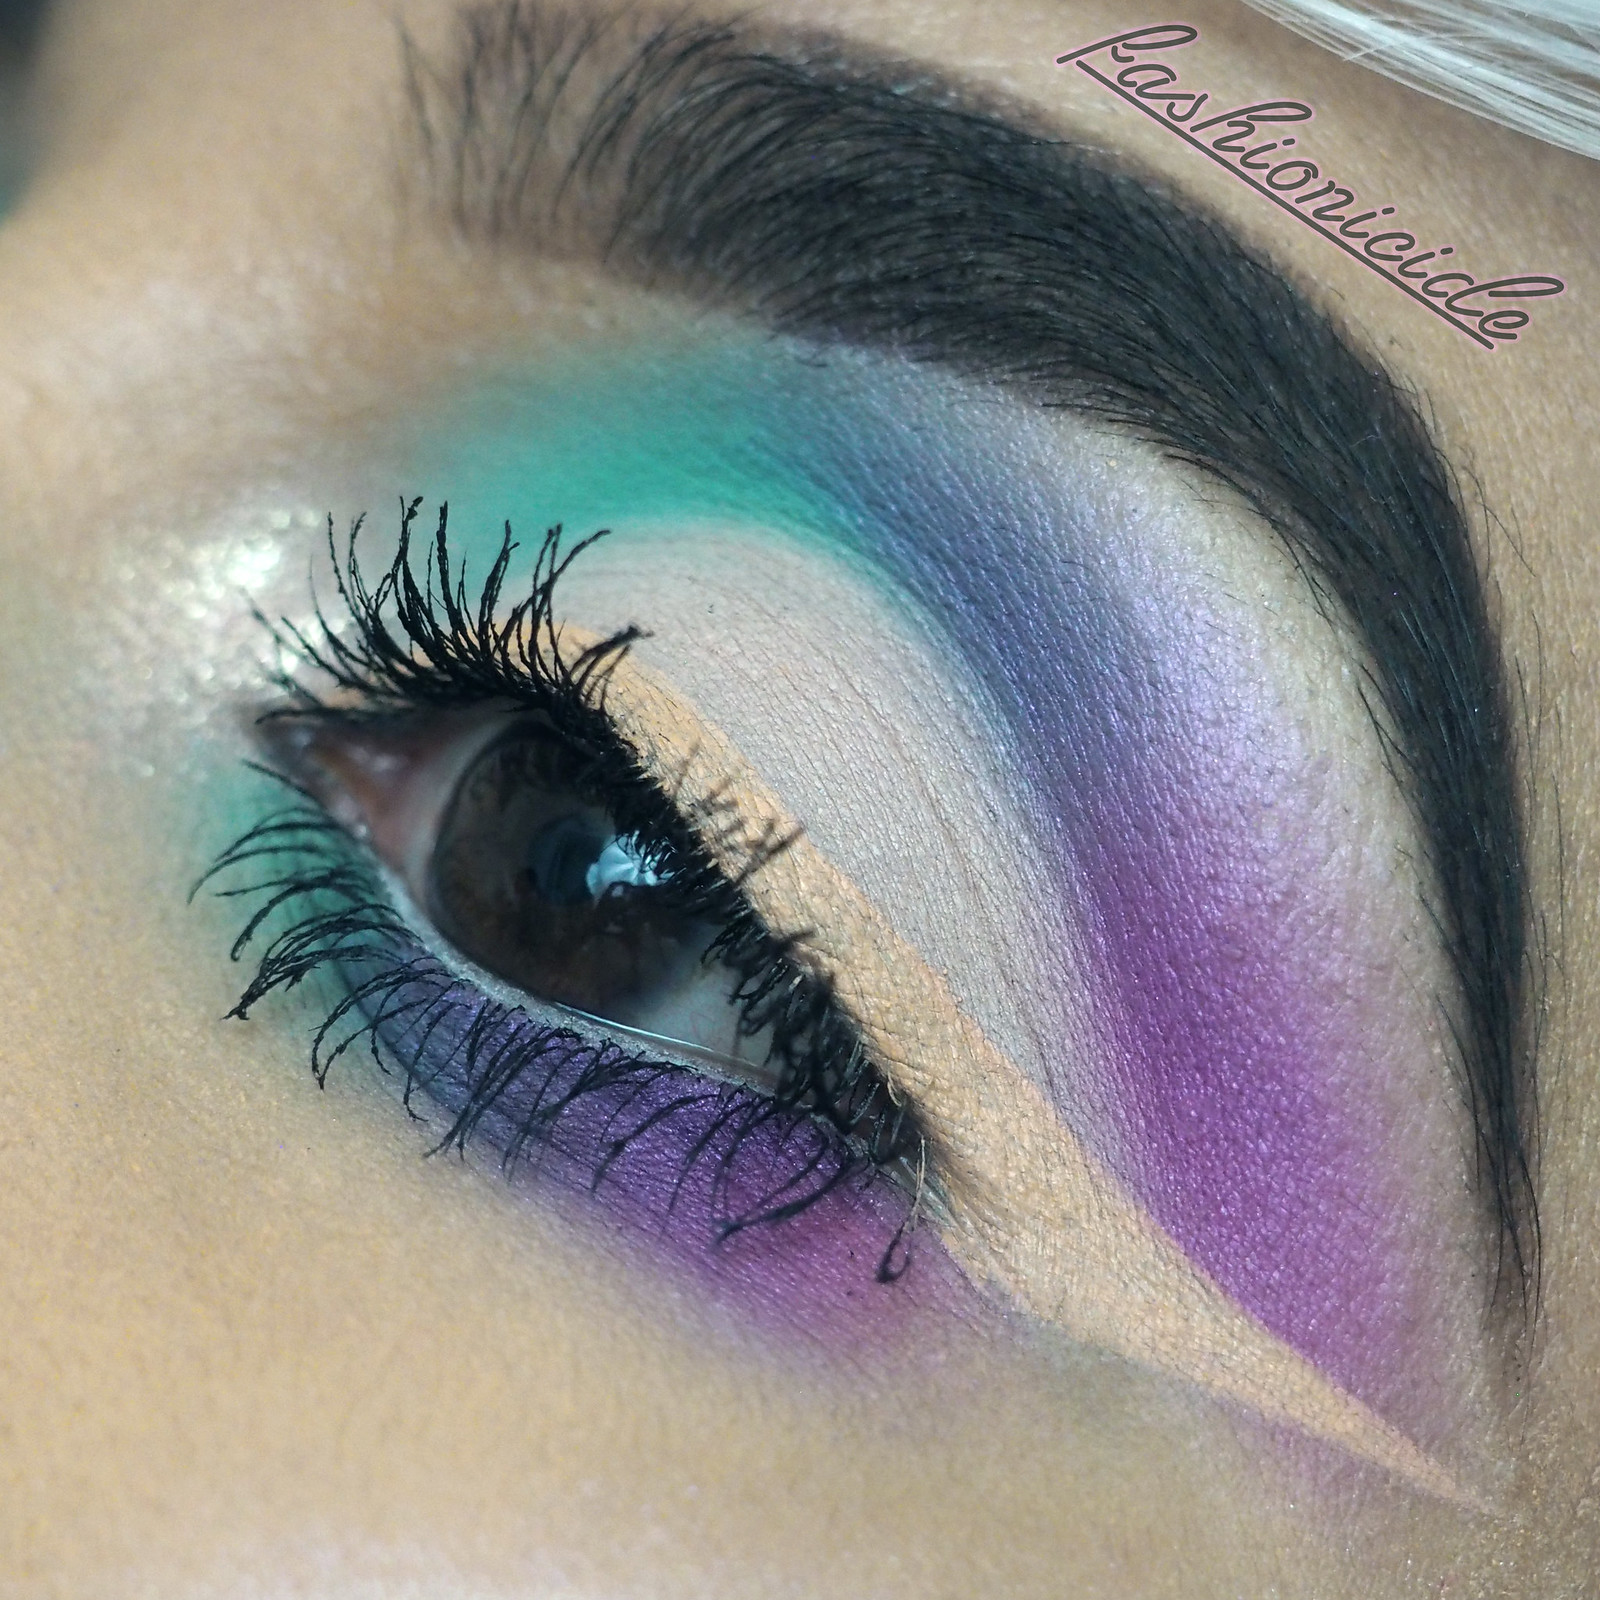
So, to re-create this look, I started off by priming my lids and applying MAC's Brule all over them. I used to wear this shadow on an actual daily basis, but it's kind of fallen to the back of the eyeshadow drawer in recent times, so it felt good to liberate it once more. Oh, and it always makes me think of blowtorches.
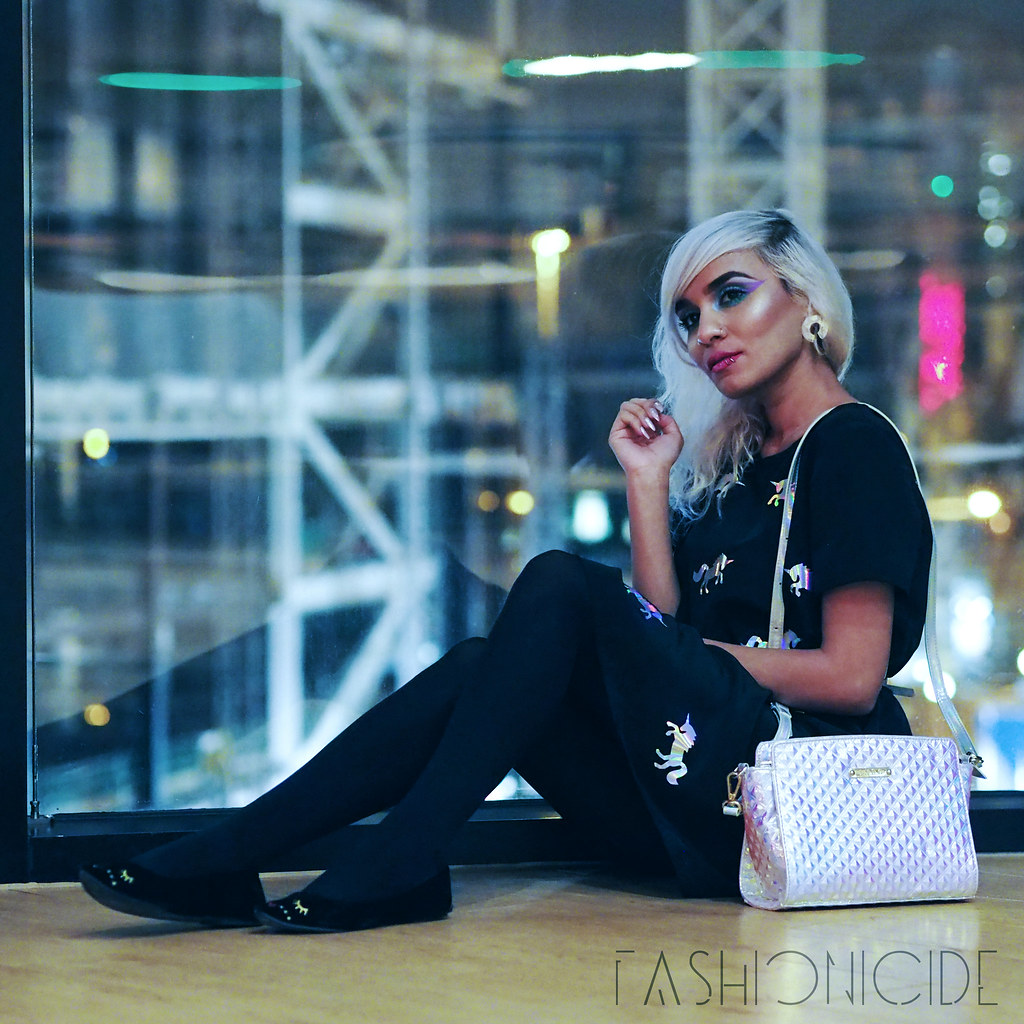
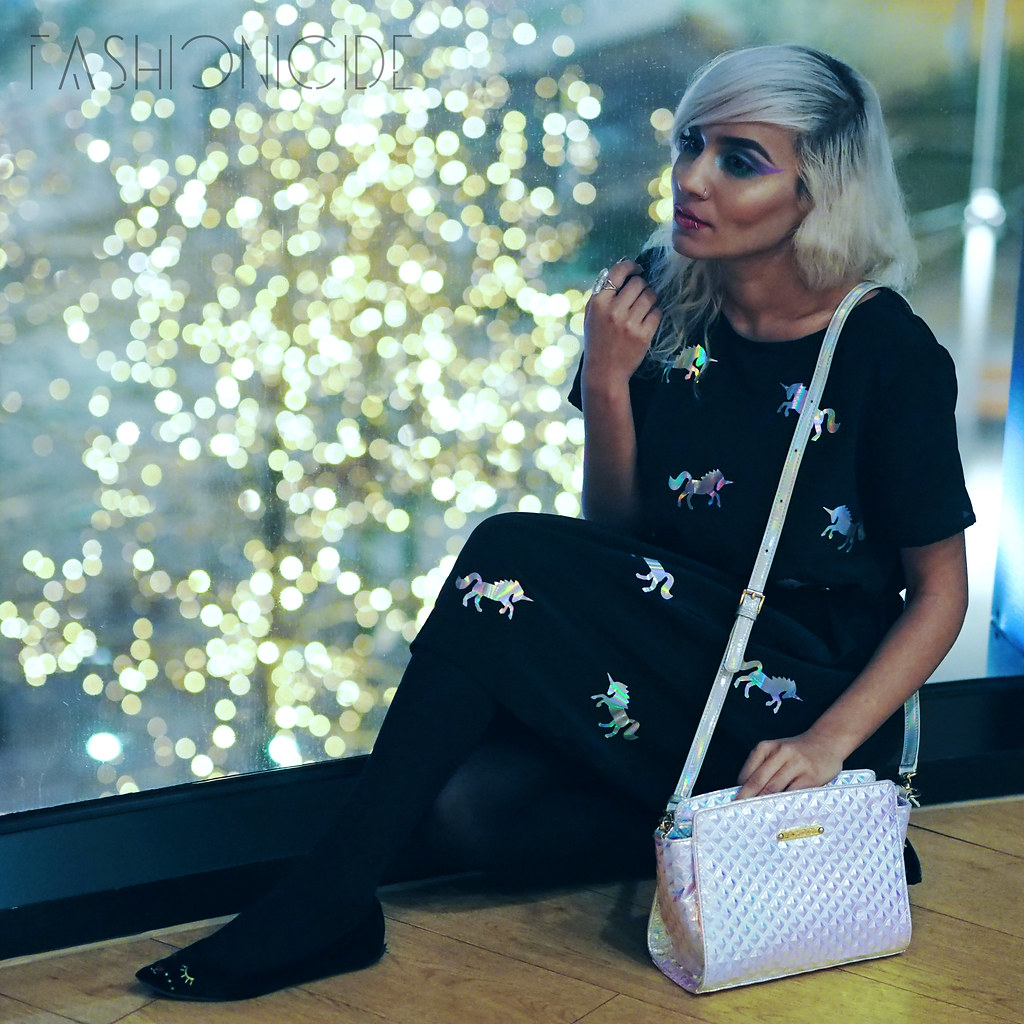
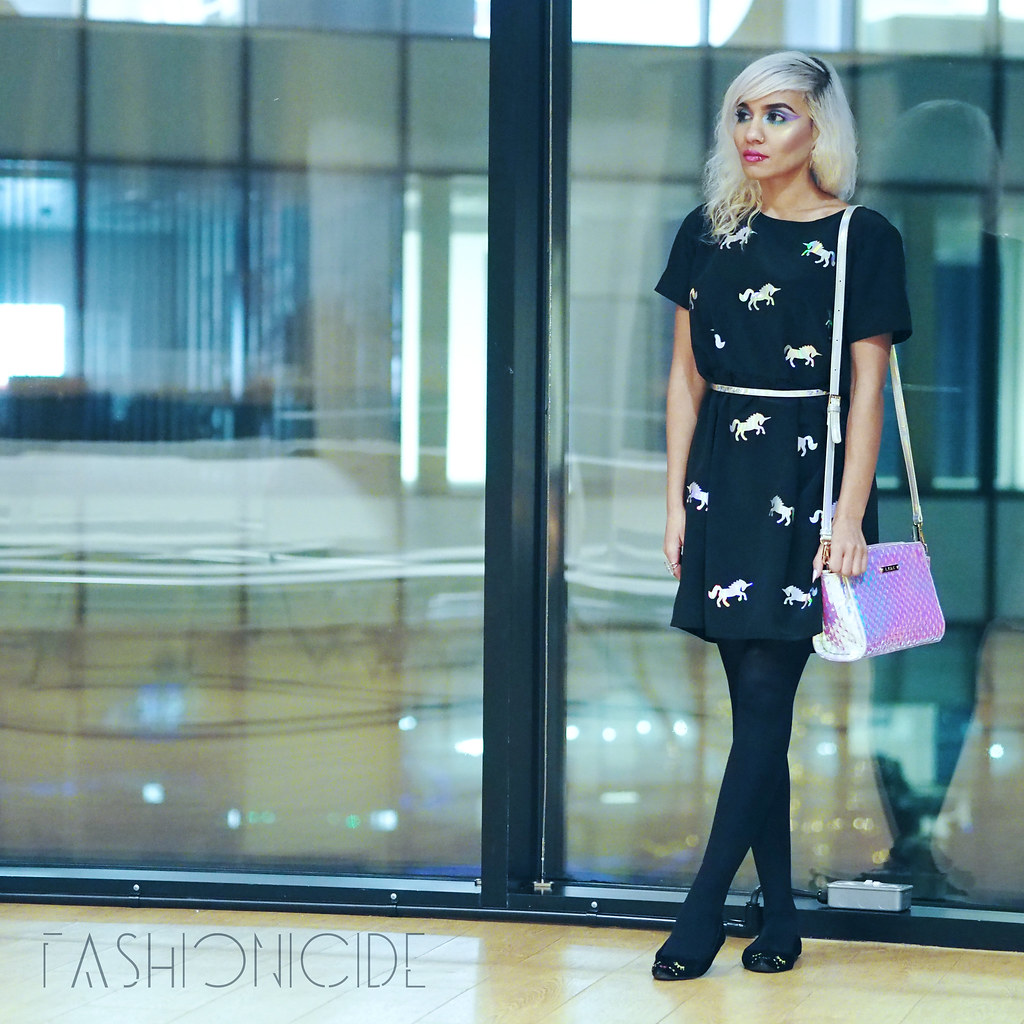
Well anyway, I then decided to apply three colours to the crease, starting off with a nice turquoise shade, then applying a purple and a pink, making sure I blended them all into each other, so it doesn't look like three solid blocks of separate colour, but more of an ombre. I repeated this step on the lower lash line too.
Next up, I applied Lime Crime's En Pointe foiled shadow to the inner corners with my finger, before getting ready for the piece de resistance - the concealer. I started to apply the concealer as a line, just as Daisy had, but all the while I was afraid the concealer would ball up over the Brule. Thankfully it didn't, but it was just a touch streaky, so I went back in and just patted some more on top and voila - Reverse Eyeliner!
Product List
|| FACE ||

Illamasqua's Skin Base - 10
Make Up Forever Full Cover Camouflage Cream - #8
LA Girl Pro Conceal - Creamy Beige
BEN NYE Banana Luxury Powder
|| CHEEKS ||
MAC Powder Blush - Gingerly
SLEEK Face Contour Kit - Medium
*Phees Makeup Shop Luxe Highlighter - Shook
|| BROWS ||
NYX Tint & Frame Brow Pomade - Espresso
|| EYES ||

MUA Pro Base Eye Primer
NYX Jumbo Eye Pencil - Milk
NYX Jumbo Eye Pencil - Milk
MAC's E/S - Brule
Sugarpill Pressed Eyeshadows - Mochi & Dollipop
Sigma Individual Eyeshadow - Moonbeam
Lime Crime Superfoils - En Pointe
LA Girl Pro Conceal - Creamy Beige
Rimmel Soft Kohl Kajal Eyeliner - White
Rimmel Soft Kohl Kajal Eyeliner - White
L'Oreal False Lash Superstar X Fiber Mascara
|| LIPS ||
MAC Kohl Powder Eye Pencil - Feline
Lime Crime Velvetines - Black Velvet
Even though this look was all about the Reverse Eyeliner, I have to give an honourable mention to the highlighter I've used here. I remember the days where highlighters were incredibly subtle, so subtle in fact, they were impossible to photograph. But in the past year or so, I've really noticed that highlighters are really coming to the fore. I always get asked what I'm using, and I have to say I've used Phee's Makeup Shop Luxe Highlighters for months without fail.
It's really strong stuff, and it got me thinking whilst I was watching a 'How to Highlight Your Cheekbones' video on YouTube, where the girl was layering on The Balm's Mary Lou Manizer. She applied three layers to get a reasonably strong highlight, but Phee's highlighters never, ever need more than one. For this look, I used her latest offering 'Shook', which is described as a shifting highlighter which can appear pink or green under various lighting, but on my skin it appears more pinky/silvery - and I fucking love it!

Fashionicide 2024